How to Take Off a Popcorn Ceiling: Step-by-Step Guide
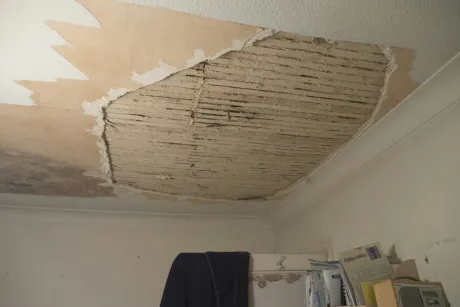
Removing a popcorn ceiling is a messy but doable DIY project that can update any room. This guide covers testing for asbestos, setting up the room, and scraping the texture off cleanly, plus what to expect if you hire a pro.
Does my popcorn ceiling contain asbestos?
Popcorn ceilings installed before 1980 often contain asbestos fibers. The material was banned in textured paints and patching compounds in 1977, but installers were allowed to use remaining stock through the early 1980s. If your home was built before 1980, assume the ceiling has asbestos until a lab test proves otherwise.
To take a sample, wear a respirator rated N100 or P100, disposable coveralls, and safety goggles. Mist a 2-inch square of the ceiling with water to keep fibers down, then scrape a small amount of the texture into a zip-lock bag using a putty knife. Collect samples from two or three spots in different rooms, as asbestos content can vary across a house.
You have two testing options. A DIY kit from a hardware store costs less but takes 1-2 weeks for results and sometimes yields false negatives on trace amounts. A certified asbestos lab that follows EPA method 600/R-93/116 gives a report in 24-48 hours. Its report carries legal weight if the test comes back positive. A positive result means you must hire a licensed asbestos abatement contractor. Disturbing asbestos popcorn ceiling without proper containment releases fibers into the air and violates federal and state regulations.
What tools and materials do I need?

Gather the right gear before you start to keep the job moving and cut down on trips to the store. A basic wet-scraping setup is straightforward. You likely own some of the items already. Rent the heavier specialty tools if you do not expect to use them again.
Safety comes first. A disposable respirator rated N95 or P100 keeps dry texture particles out of your lungs, even when you wet the ceiling. Goggles protect your eyes from overhead drips and falling debris. Add a hard hat or a bump cap if you will be on a ladder for hours.
You will need the following for a clean removal:
- Pump garden sprayer, a 2-gallon size is easy to handle overhead
- 10-inch or 14-inch wide putty knife with a stiff blade, rounded corners are gentler on drywall
- Canvas drop cloths for the floor, plastic sheeting for walls and fixtures
- Painter’s tape and a 6-foot or 8-foot A-frame ladder
- N95 or P100 respirator, safety goggles, and a hard hat
- Drywall sander on a pole and a shop vac with a fine dust filter, optional but helpful for the final skim coat stage
How do I prep the room before scraping?
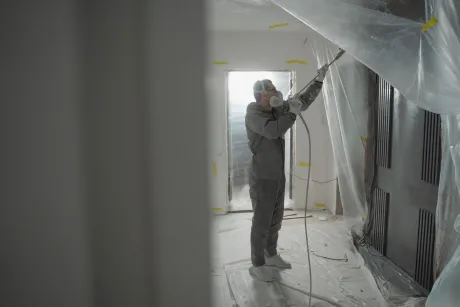
Clear the room. Every piece of furniture, rug, and curtain must come out. Popcorn ceiling material turns into a wet, sticky paste during scraping, and it will drip. If a sofa or a bed frame is too large to move, drag it to the center of the room and wrap it in two layers of 4-mil plastic sheeting, taped tight at the seams.
Cover the entire floor with 4-mil plastic, running the sheets at least 6 inches up the baseboards and taping them down with painter’s tape. Lay a layer of rosin paper on top of the plastic. The paper catches the heavy, wet clumps and prevents you from slipping on slick plastic while you work on a ladder. Tape the seams between sheets of paper so nothing seeps through.
Turn off the circuit breaker for the room. Remove all light fixtures, ceiling fans, HVAC vents, and smoke detectors. Cap any exposed wires with wire nuts and tuck them into the junction box. Tape plastic sheeting over the junction boxes and any vent openings you cannot remove. Seal the doorway with a zippered plastic dust barrier or a sheet of plastic taped on three sides, leaving the bottom free to walk through. Tape plastic over any built-in cabinets or shelving that cannot be removed.
What is the wet scraping method, step by step?

Wet scraping is the most common DIY method because it softens the texture without sending a cloud of fine dust into the air. Water soaks through the popcorn layer and loosens its bond with the drywall underneath. Work in manageable sections so the surface stays damp and the scraping stays easy.
If the ceiling is painted, water will not penetrate the surface. Score a painted popcorn ceiling first. Fill a garden pump sprayer with warm water and a few drops of dish soap. Mist one 4x4-foot section until it is visibly damp but not dripping. Let the water soak in for about 15 minutes. Test a small corner with a wide putty knife. The texture should come off in ribbons with light pressure.
Hold a 10- or 12-inch drywall knife at a low angle, about 30 degrees to the ceiling. Push the blade forward with steady, even pressure. Keep the knife flat enough to ride along the drywall surface without gouging the paper facing. Scrape the softened texture into a plastic drop cloth or a mud pan you hold in your other hand. Work one 4x4-foot section at a time, spraying the next section while you scrape the current one so the water has time to work.
When the blade starts to grab or the texture crumbles instead of peeling, stop and re-wet that spot. Dry scraping can tear the drywall paper and lead to more repair work later. Move across the room in a grid, overlapping sections slightly to avoid leaving a hard edge of dried texture between them.
What do I do after the texture is off?
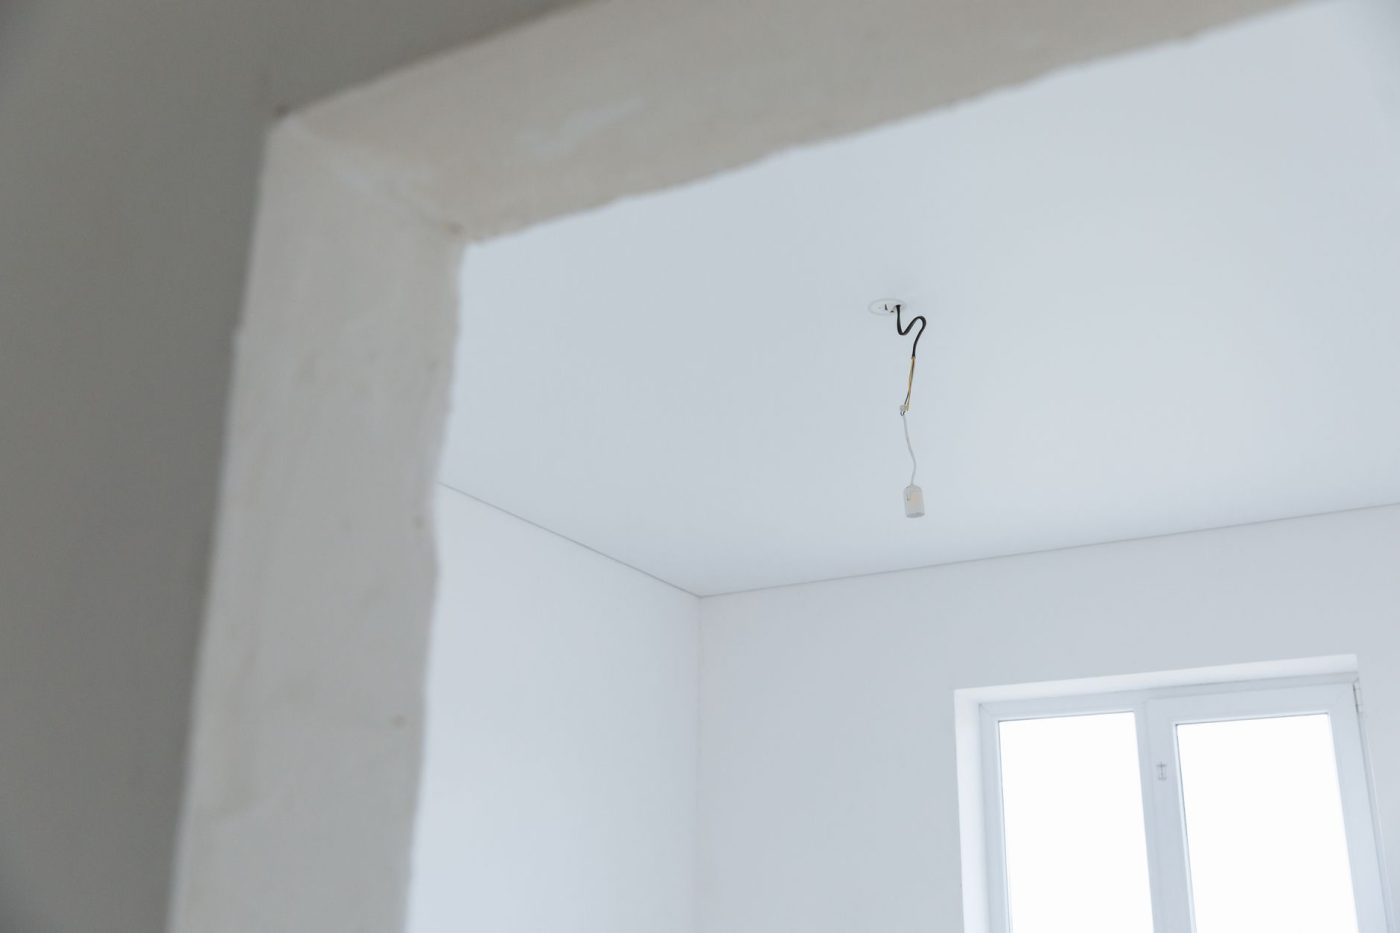
Once the bulk of the popcorn texture is scraped away, the drywall underneath needs time to dry completely. Even with careful water misting during scraping, the gypsum core and paper face absorb moisture. Leave windows open and run a box fan in the room for at least 24 hours. If you rush into the next steps while the board is still damp, moisture gets trapped behind primer and joint compound. This causes bubbling or adhesion failure later.
Inspect every square foot of the ceiling under a bright work light. Look for gouges from the scraper edge, popped nail heads, and uneven seams the old texture hid. Drive any protruding drywall screws or nails slightly below the surface with a screw gun or hammer. Fill all dents and gouges with a lightweight all-purpose joint compound, applying it with a 6-inch taping knife. Skim a thin coat over rough seams if the original tape is intact but uneven. Let the compound dry according to the manufacturer's instructions, then sand the patched areas flat with a 120-grit sanding sponge or a pole sander. Wipe the ceiling with a damp microfiber cloth to remove all sanding dust before priming.
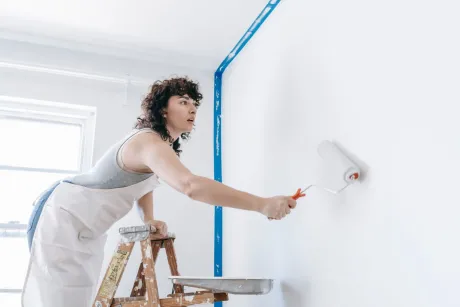
Apply a coat of PVA drywall primer to the entire ceiling. PVA primer is formulated to seal bare drywall paper and dried joint compound, creating a uniform surface that prevents the first finish coat of paint from flashing or soaking in unevenly. Roll it on with a 3/8-inch nap roller cover and cut in the edges with a brush. Once the primer is dry, typically in two to four hours, paint the ceiling with a flat or matte ceiling paint. Two finish coats over a properly primed surface give the most even result.
Should I just cover the popcorn ceiling instead?
Covering the ceiling skips the mess and the asbestos concern, but you trade that for a lower ceiling and a different set of labor steps. You can install a new layer of 1/4-inch or 1/2-inch drywall directly over the old texture, or you can strap the ceiling with furring strips first and then hang the board. Drywall overhead is heavy, awkward work, and every sheet needs to be screwed off, taped and finished. You end up with a fresh, flat surface that takes paint the same day it is sanded.
The second option is a system of lightweight ceiling planks or tiles, typically tongue-and-groove, that fasten to the old ceiling with screws or clips. These weigh less than drywall and do not require taping or sanding, but you still see seams unless you pick a style that makes them part of the look. Both methods lower the ceiling by the thickness of the material plus any furring, which matters in a room that already feels low. Scraping keeps every inch of height and costs only the rental of a pump sprayer and a few hand tools, but it is wet, slow work and leaves you with drywall that still needs skimming before it is ready for paint.
- Scraping preserves ceiling height and costs the least in materials.
- Scraping is the messiest and most labor-intensive option.
- Covering with drywall gives a brand-new flat surface without wetting the old texture.
- Drywall overhead is heavy and requires taping, mudding and sanding skill.
- Ceiling planks install faster than drywall and avoid drywall dust entirely.
- Every cover method reduces room height by at least 1/4 inch, often more when furring is used.
Frequently asked questions
Can I dry scrape a popcorn ceiling?
Dry scraping is not recommended. It creates clouds of fine dust that spread through the house and linger in the air. Wet scraping keeps the dust down and softens the texture so it comes off with less effort.
How long does it take to remove a popcorn ceiling?
For a 150-square-foot room, expect to spend a full day on prep and scraping. Drying, patching, sanding, and painting add another one to two days. A large room or a ceiling with multiple paint layers will take longer.
Do I need to sand the ceiling after scraping?
You will likely need to do some light sanding. The scraper can leave small gouges or ridges in the drywall paper. After patching those spots with joint compound, a light sanding with a pole sander gives you a smooth surface for primer.
Can I paint right after removing the popcorn texture?
No. The bare drywall needs a coat of PVA primer first. PVA primer seals the porous paper and joint compound so the finish paint adheres evenly. Skipping primer often leads to peeling paint and a blotchy finish.